github 授权主要是利用 oAuth2 的授权码模式登录
主体流程为:
- web 网站或者应用重定向到 github 的授权端点
- github 会要求用户登录,然后询问是否给予客户端授权,用户点击同意。
- 然后 github 发送通过协定好的重定向地址返回 web 网站并且携带
授权码 - web 发送到后端,由后端通过协定好的 client_secret 、client_id、code 去请求
access_token。 - github 会返回携带一些参数的 url,其中就有
access_token给后端。 - 后端可以通过这个 token 去请求用户的数据。
时序图如下:

接下来就实现它。这里后端是 koa
申请一个 OAuth App
- 登录 github
- 点击头像下的 Settings -> Developer settings 右侧 New OAuth App
- 申请与配置参数。
- Homepage URL 这是后续需要使用授权的 URL ,你可以理解为就是你的项目根目录地址
- Authorization callback URL 授权成功后的回调地址,这个至关重要,这是拿到授权 code 时给你的回调地址。
点击 OAuth Apps , Register a new application 或者 New OAuth App 。

填写资料

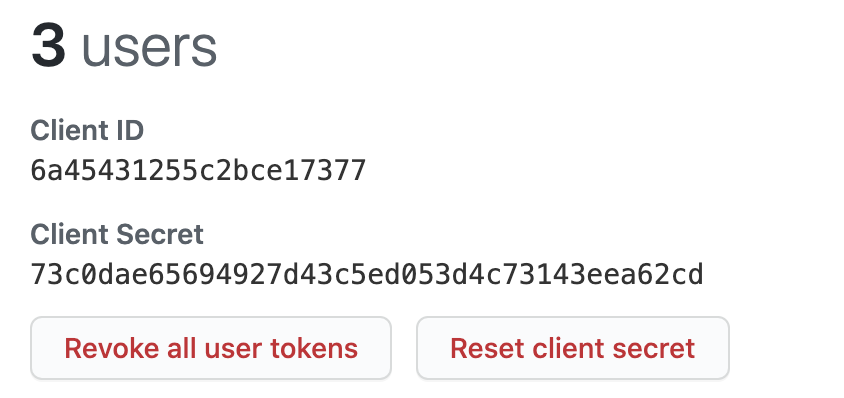
拿到应用信息,如 client_secret 、client_id
前端授权登录
- web 端重定向 http://github.com/login/oauth/authorize?client_id=xxxxxx, 注意这里要携带上 client_id
- web 端重定向到上面的地址后,等待授权。我们填了重定向回本地址,这里等待跳转回来的时候,地址栏上带了 code ,这里要把 code 发到后端
- 后端才可以根据 code 进行下一步操作
web 端代码如下:
html
<!DOCTYPE html>
<html lang="en">
  <head>
    <meta charset="UTF-8" />
    <title>github 授权登录</title>
    <script src="./axios.min.js"></script>
  </head>
  <body>
    <button>github login</button>
    <p></p>

    <script>
      window.onload = function () {
        const $button = document.querySelector('button');
        const $p = document.querySelector('p');
        $button.onclick = function () {
          const client_id = '6a45431255c2bce17377'; // github 注册  Settings -> Developer settings -> oAuth App 里拿
          window.location.href = `https://github.com/login/oauth/authorize?client_id=${client_id}`;
        };

        function decodeQuery(url) {
          const params = {};
          const paramsStr = url.replace(/\.*\?/, ''); // a=1&b=2&c=&d=xxx&e
          paramsStr.split('&').forEach((v) => {
            const d = v.split('=');
            if (d[1] && d[0]) params[d[0]] = d[1];
          });
          return params;
        }

        const { code } = decodeQuery(window.location.search);

        if (code) {
          axios.get(`/github?code=${code}`).then((res) => {
            $p.innerText = JSON.stringify(res.data);
          });
        }
      };
    </script>
  </body>
</html>
后端通过 code 请求 access_token
- 客户端(Client)在通过在 URL 中取出授权码之后,就可以在后端向 github 请求令牌
js
router.get('/github', async ctx => {
  const { code } = ctx.query

  const client_id = '6a45431255c2bce17377'
  const client_secret = '73c0dae65694927d43c5ed053d4c73143eea62cd'
  const access_token_url = 'https://github.com/login/oauth/access_token'
  const fetch_user_url = 'https://api.github.com/user'

  // 拿到 code, 请求 access_token
  const result = await axios.post(access_token_url, {
    code,
    client_id,
    client_secret
  })

  // 返回带有 access_token 的字符串
  // access_token=d59801d53b60486c8bcaba9e49858b5a3c04695f&scope=&token_type=bearer
  const callbackUrl = result.data
  const { access_token } = decodeQuery(callbackUrl)
}
通过 access_token 请求用户信息
通过 code client_id client_secret 向 github 请求,返回一个携带 access_token_url 的 url,这时候就可以拿 token 去请求用户信息了
js
// 拿 token 取用户的数据
const userInfo = await axios.get(`${fetch_user_url}?access_token=${access_token}`);
完整代码如下:
js
const Koa = require('koa');
const path = require('path');
const Router = require('koa-router');
const koaStatic = require('koa-static');
const axios = require('axios');

const app = new Koa();
const router = new Router();

const staticPath = path.resolve(__dirname, './public');

app.use(koaStatic(staticPath));

function decodeQuery(url) {
  const params = {};
  const paramsStr = url.replace(/\.*\?/, ''); // a=1&b=2&c=&d=xxx&e
  paramsStr.split('&').forEach((v) => {
    const d = v.split('=');
    if (d[1] && d[0]) params[d[0]] = d[1];
  });
  return params;
}

router.get('/github', async (ctx) => {
  const { code } = ctx.query;

  const client_id = '6a45431255c2bce17377';
  const client_secret = '73c0dae65694927d43c5ed053d4c73143eea62cd';
  const access_token_url = 'https://github.com/login/oauth/access_token';
  const fetch_user_url = 'https://api.github.com/user';

  // 拿到 code, 请求 access_token
  const result = await axios.post(access_token_url, {
    code,
    client_id,
    client_secret,
  });

  // 返回带有 access_token 的字符串
  // access_token=d59801d53b60486c8bcaba9e49858b5a3c04695f&scope=&token_type=bearer
  const callbackUrl = result.data;
  const { access_token } = decodeQuery(callbackUrl);

  // 拿 token 取用户的数据
  const userInfo = await axios.get(`${fetch_user_url}?access_token=${access_token}`);
  ctx.body = userInfo.data;
});

app.use(router.routes(), router.allowedMethods());

app.listen(3000, () => {
  console.log('please open http://localhost:3000');
});
效果图:

代码仓库
参考